Here the left side is seen clamped tight to the left side of the trailer. In actuality there will be a 1/4" gap between the two parts to allow for closing the hatch without binding between the sides.
Shown above is the top header, a two-layer piece where the inner piece runs between the outside ribs and is notched to receive the interior ribs.
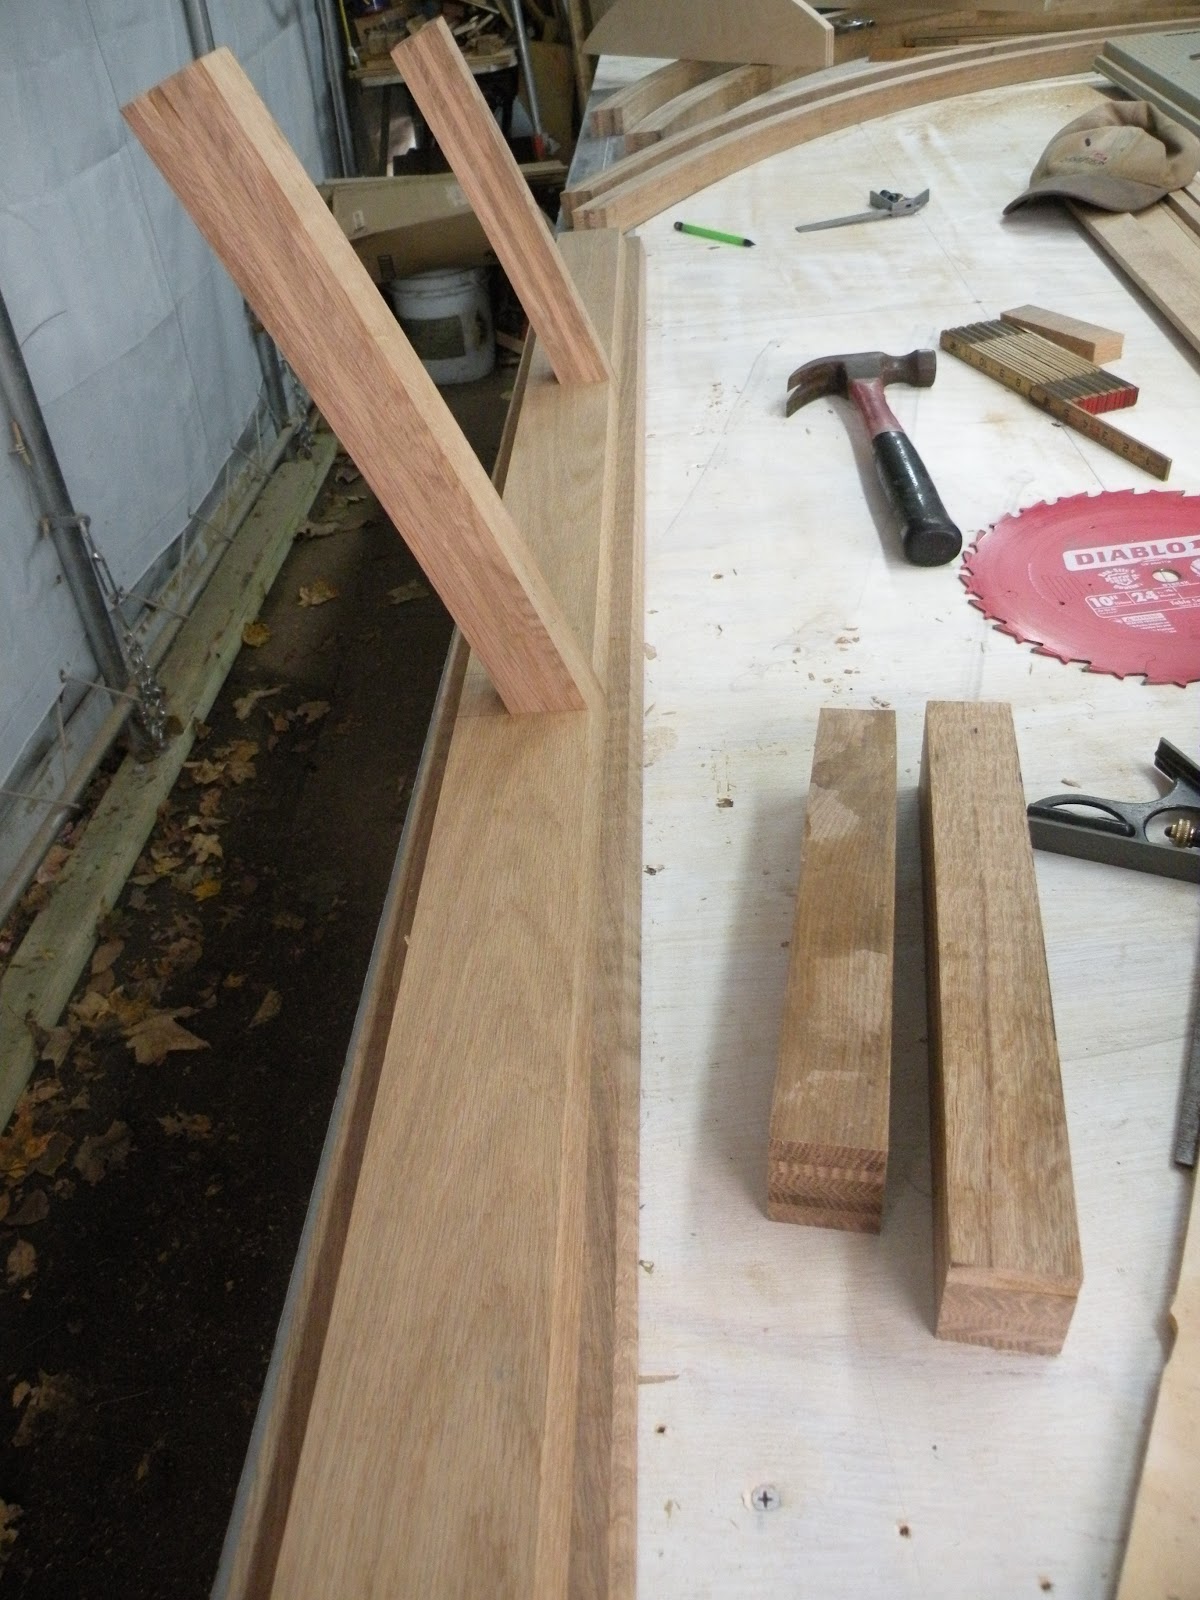
Below is a detail showing an interior rib joining the bottom assembly. Note: the illusion here is that the bottom piece is beveled on the edge closest to the edge of the table; in fact, is is not. It is a full 13/16" thick and square edged.
The assembled top and bottom components - the bottom is to the left, the top to the right - showing the two layers of each and the relationships. For the top piece on the right (up is to the right), the two bevels are offset by the thickness of the beadboard plus the 1/8" plywood sheathing (see right edge.) The bottom piece on the left (up is to the left) shows that the inner piece, which traces the curve of the profile, terminates about 1.5" above the bottom edge of the part. This allows the bottom edge to seal against the trailer's bed.
Below the parts are dry-assembled. The inner ribs have not yet been properly trimmed to length.
The next steps are to cut the rabbets in the outer ribs to receive the sheathing, then do a preliminary assemblage of the outer ribs and the top/bottom parts so they can be placed on the trailer to assure proper fit.


No comments:
Post a Comment