Progress has been somewhat slow lately, owing in part to weather, and to critical path items.
The electrical equipment is now mounted and wiring can begin in earnest. Meanwhile, the cover for the electrical cavity has been created.
Each side of the top will contain a vent to release the heat generated by the Xantrex. The vents will be made from sapele, a wood very akin to mahogany. Using a 3/4" round bit, grooves will be routed lengthwise on top and across the vent on the bottom; the intersections of the grooves, which are deeper than half the thickness of the wood, create openings through which air may flow. Below is a test piece done in oak:
One difference in the final part from the test is that the rib between the longitudinal grooves will be half the size of the groove instead of one third. Each vent will have three longitudinal grooves, and the ends will be capped with pieces to match the balance of the perimeter. The perimeter will have the 45 degree bevel seen in other elements of the woodwork.
The next major step is to construct the hatch. In order to accomplish this we must create three new laminated ribs - two identical (except for left/right handedness) for the outside, and one for the center. The section shown below illustrates what you would see if you cut through the hatch from side to side (mostly.)
On the left is the port side wall, represented by two sheets of 1/4" baltic birch plywood (the vertical lines) surrounding the eight-layer outer rib (the horizontal lines at top) and the poplar structure below the rib.
The hatch is seen to the right of that, represented by two ribs - the port side rib, which is made up of eight 1/4" layers, and the inner rib, made up of six layers of 1/4" thickness. The thick white member across the top is 3/8" x 3/4" white oak beadboard running from side to side. The beadboard is rabbeted into the outer rib, while the inner rib has a profile that conforms to the inside of the beadboard.
If you revisit much older posts you will see that we added plywood on top of the previous molding blocks in order to preserve them should we need to reuse them. Since the profile of the sides of the hatch must match the outer profile of the original ribs, and since the original ribs were patterned from the inside of the curve, not the outside, we need to use the template Sean made from our original side to create new molding blocks where the outside adheres to the proper curve.
To that end, we stripped the table back down to the original surface.
Next, we placed the template on the table, verified that the profile was slightly different from the original lines on the table, then moved it to a more convenient orientation and traced a new line for the hatch profile.
Above you can see the slight difference between the original design profile and the as-built.
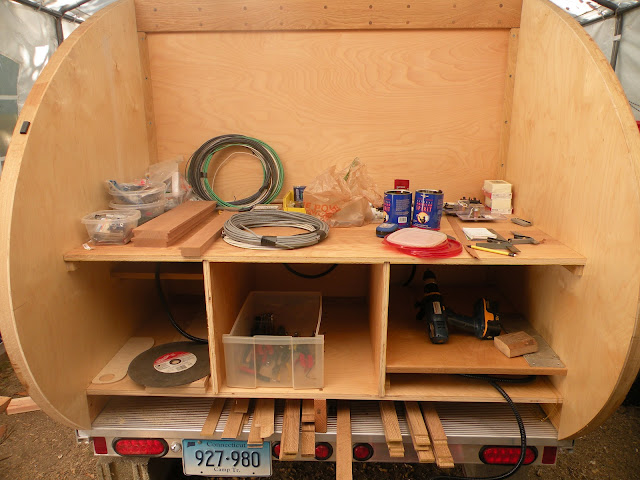
Finally for today's post, clearing the table meant finding places to put all that stuff that had found a home on the 5x12 horizontal surface. Guess what became a combination material/tool storage and lumber rack?


No comments:
Post a Comment